How is broth made on our farm?
posted on
November 15, 2025
The first snowfall of the year is magical for me. Like cool water on a hot day, the blanket of white never fails to bring joy to my heart and a smile to my face.
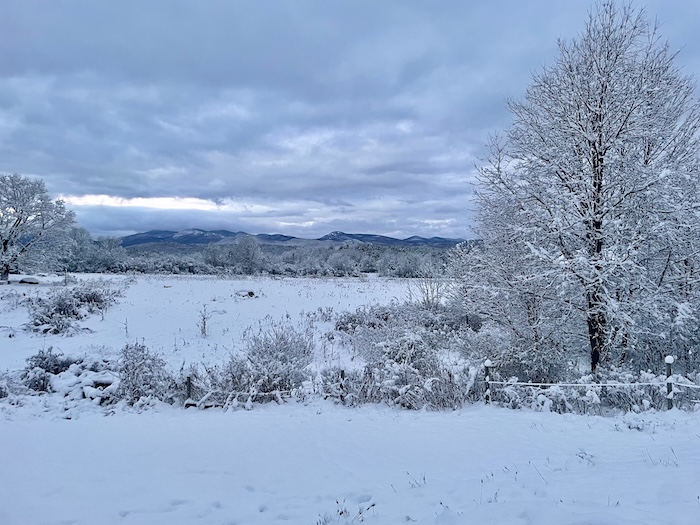
Snow in the mudroom and wet gloves hanging to dry by the fire mean broth season is here. Racey was sick last week and a cup of warm broth with a pinch of salt soothes any cold.
We use broth in our kitchen in so many ways: a quick way to make soup, the base of any chili, sauté liquid for vegetables, add to rice or pasta for a rich taste...all of which are good reasons why I always have a quart or two in our fridge.
But what is Broth? How do we make it? What makes one broth different from another?
There are so many ways to make broth, and the process has evolved over many years. Our broth is a rich, golden broth, which is ready to drink as a sipping broth, flavor your favorite dish or be the base for your next soup.
Some broths are lighter in color, some are very salty.
One thing broth making has taught me is that details are an important spice along with excellent ingredients. Making broth at Reber Rock Farm is broken down into 6 steps:
Prepare Ingredients
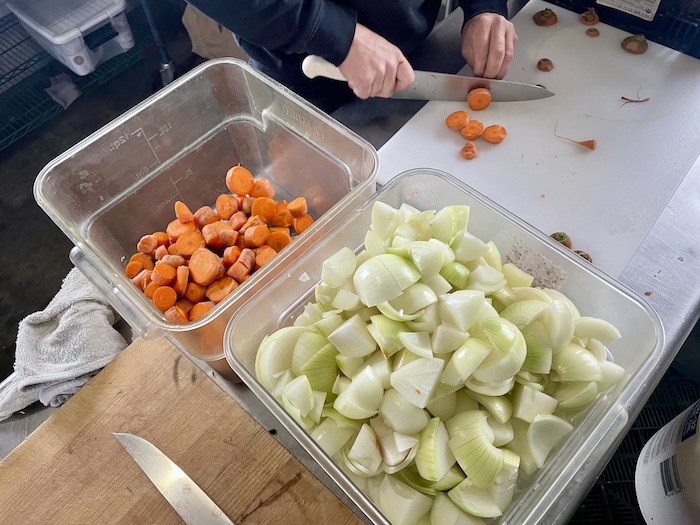
Our broth recipe includes Reber Rock chicken bones and backs, onions, carrots, celery and thyme. That's it.
Adam Bechard, our broth mentor and chef extraordinaire taught us that there are some important preparations to ensure broth is smooth and not bitter. We peel the onions, we cut the tops off of the carrots (any green on the carrot will add a bitter flavor) and all the leaves are pulled from the celery.
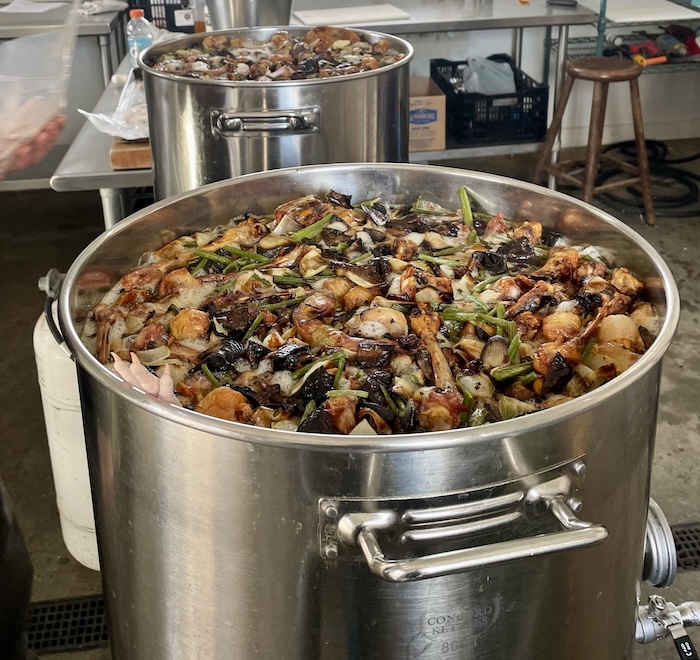
Roast

To develop flavor and caramelize the sugars in the vegetables, we roast all the ingredients first. Above is a tray of roasted chicken carcasses. We also roast the onions, carrots and celery.
Simmer
After the ingredients are prepared and roasted we throw them all in a pot and fill with water. My initial instinct was to boil...this is not the case.
We bring the pot to a simmer and adjust the heat so that the broth has "gentle" bubbles rolling up but not a full boil.
Boiling the broth agitates the ingredients and can cause off flavors.
The next ingredient is the most precious of all: time.
We simmer the broth for 36 hours.
Strain & Cool
After simmering we strain out all of what remains of the vegetables and chicken. There is still some chicken fat on the surface of the broth, so we cool the broth quickly using cold water and let the broth rest in the cooler overnight.
Skim Fat
In the morning all of the fat has congealed on the surface of the broth. We are easily able to scoop this off with a strainer, leaving no fat in the broth.
Jar + Freeze
In our house we prefer to use glass rather than plastic wherever we can. In the past we have tried plastic bags, which always seemed to spring a leak in our fridge. Kraft paper cups were an improvement but the lids would often come off in transit.
Then we asked ourselves, why not put them right into mason jars? That's what we use in our kitchen anyway...
So we did some experimenting to make sure they do not break when freezing and tested how well they travel in a box of meat.
We are proud to offer our chicken bone broth in glass jars. if you live locally we will gladly take them back, wash them and reuse them. Or you can use them for years to come in your kitchen.
After jarring the broth it is labeled and frozen.
Your Farmer (and broth maker)

-Nathan